
Wondering how to treat your oak doors? Make sure to read our step-by-step guide to ensure you treat your interior oak doors safely and correctly, so that they are able to protect the wood for many years to come.
Guide’s key takeaways
- Choose the right finish for your oak door – Learn how to choose between oil, varnish, lacquer, paint and stain based on the door’s material, location and desired finish.
- Prepare your oak door properly before treating it – Find out how to clean, sand and prepare solid oak and oak veneer doors for a smooth, long-lasting finish.
- Follow the correct steps to finish and maintain your oak doors – From applying thin, even coats to allowing adequate drying time and carrying out regular maintenance, discover how to protect your doors for years to come.
How to Finish Oak Doors
When it comes to finishing oak doors, it’s important to choose the right finish that will protect your timber. Oak is a durable material perfect for doors, but it needs the right treatment to protect it from things like staining, dirt, moisture and every day wear and tear. Choosing the correct finish depends on whether the door is internal or external, and whether it’s unfinished, already finished, solid oak or oak veneer.
Doordeals Expert, Martin Fox, has over 15 years’ experience in the doors space, and gives his advice on treating and finishing both external and internal oak doors.

Oak door finishing options
Before we even get into the steps of how to finish your oak doors, it’s important to point out that you have options for the finish, depending on where the door is (internal or external), its current condition and ultimately how you want it to look once you’re done!
Your most common options for finishing an oak door are:
- Hardwax oil
- Wood oil
- Varnish/lacquer
- Paint
Expert tip: Try your finish on a small section of the door first, before doing the whole thing, to make sure you’re 100% happy with how it looks.
Your options would largely be dictated by whether your door is:
- Internal or external doors: External oak doors, including the likes of a front door or a wooden garage door, require a finish that can withstand the elements – think moisture from rain, UV exposure and ever-changing weather conditions. Whereas internal doors generally have more flexibility.
- Solid oak or oak veneer: Solid oak can usually be sanded and refinished without many problems, whereas an oak veneer door has a thin layer of real oak, so much more TLC is required to avoid sanding through the oak surface as you’re preparing for finishing.
- Unfinished or previously treated oak: Unfinished oak gives you the most flexibility when choosing your finish, as you’ll be starting fresh. Oak doors which have been previously treated will need to be cleaned, sanded or stripped (more on how to do this later). Whereas, previously treated doors may need cleaning, sanding or stripping first to make sure that the new finish adheres properly.
- A fire door: You can treat an oak fire door, but the finish you choose must be certified fire-resistant sealant and paint. Any non-certified treatments could be detrimental to the door’s ability to protect against smoke and fire, and to its FD30 or FD60 fire rating.
As well as:
- The desired appearance: This one comes down to personal preference. You may want to enhance the oak’s natural grain and colour, or deepen its tone, or even change its appearance completely with a painted finish.
- The level of protection required: Choose your finish according to how much protection the door needs from moisture, staining and everyday wear and tear. Hard-wearing finishes are, of course, better suited to oak doors which are in high footfall areas or exposed to the elements.
How to Treat Oak Doors (Finished & Unfinished)
From preparation of the wood, to the final coat of finish, follow our step by step guide to treating oak doors and you’ll be amazed with the finished article!
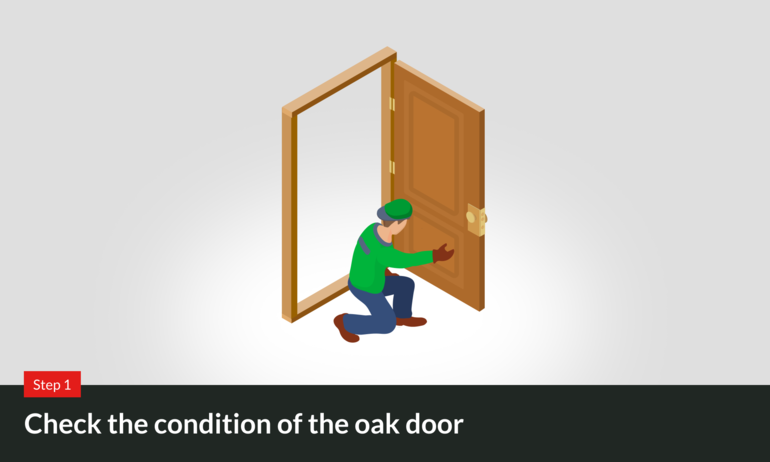
Step 1: Check the condition of the oak door
Before doing anything, make sure to identify the condition of the door. Is it unfinished, or has it been previously treated, varnished or oiled, or even painted before?
It’s also worth checking for any imperfections like existing damage, stains or scratches. Knowing this will help you make the bigger decisions about how to treat and finish your door.
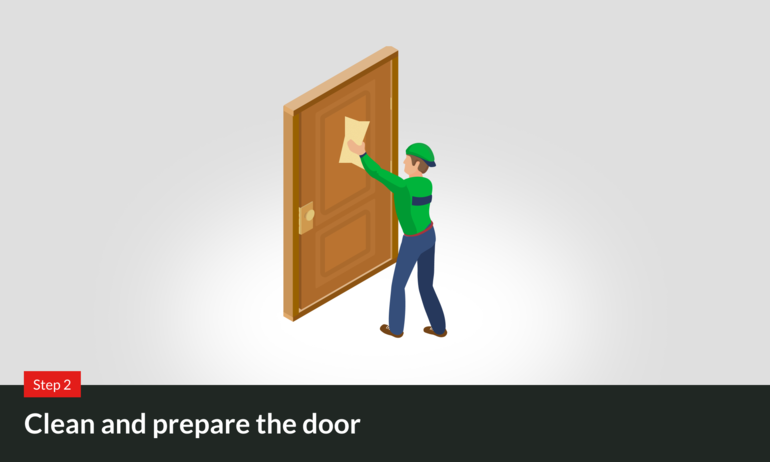
Step 2: Clean and prepare the door
Once you’ve assessed the door, it’s time to clean and prepare it for finishing. Whether you clean down with wood cleaner, sand or another option will depend on your assessment.
How to clean an oak door depends on what you’re cleaning from the door – wood shavings are different to grease from dirty hands, for instance. For dust, dirt or grease, you can remove this using a suitable wood cleaner, then allow the door to dry thoroughly. This is likely to take 24 hours at least, to be safe.
If there is an existing finish, or the door is damaged, peeling or uneven, sanding may be your best option to create a smooth surface ready for finishing. Whether you use traditional sandpaper or a handheld sander, we recommend starting with medium-grit sandpaper, around 120 grit is usually perfect, then use a finer (up to 240 grit) for the final preparation. Remember to sand in the direction of the wood grain to avoid visible marks or scratches.
Finally for step 2, make sure to remove every trace of wood dust with a vacuum and then a lint-free cloth. Whatever your chosen finish, this will ensure it glides on smoothly with no residue.
If you have untreated oak doors that are new, it’s likely that you can skip the cleaning and prepping step – although it’s a good idea to still give it a little dust down with a lint-free cloth, to remove any dust or dirt that could have been picked up whilst in transit.
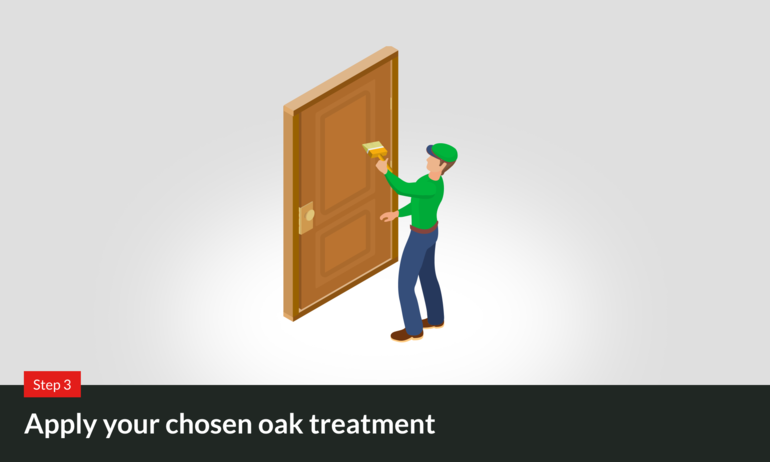
Step 3: Apply your chosen oak treatment
Once the oak door is clean, dry and wood shaving-free, you can apply your chosen finish.
If treating with oil
Use a clean, lint-free cloth or brush and work it into the wood, making sure to follow the grain of the wood for the perfect finish.
If treating with varnish
Your wood varnish can be applied with a brush or foam applicator, again, it’s recommended to follow the grain. Some varnishes are suitable for spraying, so always check the label of the varnish before applying.
Oil vs varnish finishes
When deciding oil vs varnish, consider the aesthetic and level of protection you want from your finish. Oil is a great choice if you want to enhance the natural look of oak. Varnish, on the other hand, provides a tougher protective layer and is better suited to doors that are likely to experience more wear and tear, and in higher footfall areas.
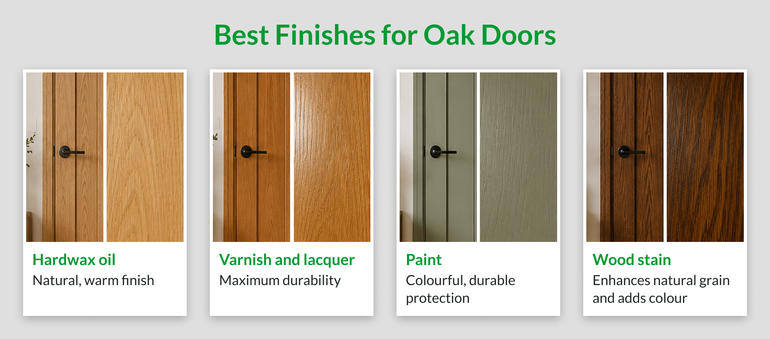
Best Finishes for Oak Doors
- Hardwax oil – Natural, warm finish
- Varnish & lacquer – Maximum durability
- Paint – Colourful, durable protection
- Wood stain – Enhances natural grain and adds colour
How to paint oak doors
If finishing with paint, you may be required to prime your oak door first. If the manufacturer’s guidance suggests so, follow this guidance to prime, allow to dry, then move on to painting your oak door. Oak primer helps prevent bleeding and discolouration.
Use a suitable brush, roller or sprayer to apply the paint, depending on the product. The best way to paint an oak door is to apply thin, even coats and allow each coat to dry fully before applying the next.
Whichever product you choose – whether paint, varnish or wood oil – be sure to apply thin, even coats rather than one heavy layer. This helps the finish absorb and dry evenly. It also reduces the risk of dips or brush marks. Allow each coat to dry fully according to the manufacturer’s instructions.
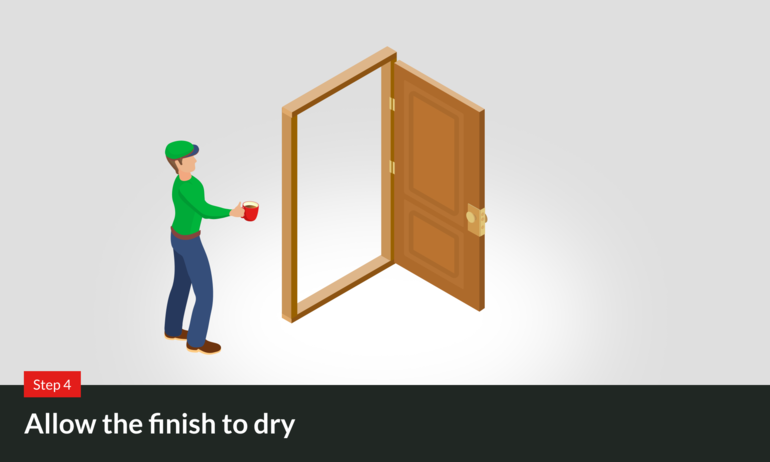
Step 4: Allow the finish to dry
Drying times do vary depending on the type of oil, varnish or paint used, as well as the temperature, humidity and ventilation in the room at the time of finishing. Check the manufacturer’s instructions for exact drying times.
Remember that a surface can feel dry to the touch before it has fully cured. So where possible, try to leave the door open and avoid touching it until you’re certain it’s fully dry, to avoid scratches, finger print marks and damage to the newly finished surface.
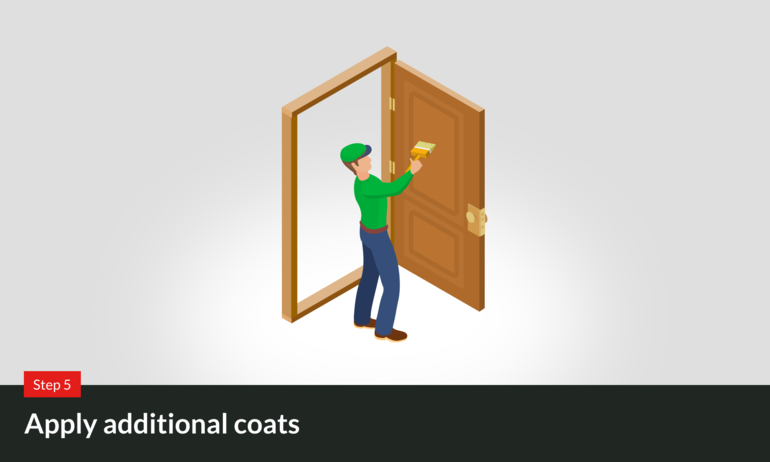
Step 5: Apply additional coats
With some wood finishes, more than one coat is required to achieve the colour, finish or level of protection you need. So, where recommended in the manufacturer’s guidance, lightly sand the surface between coats using fine-grit sandpaper. 220–240 grit is classed as ‘very fine’ on the sandpaper scale, and is often recommended for these types of jobs.
Doing this creates a ‘key’ for the next layer of treatment to attach to. Remember to always sand gently in the direction of the wood grain, then remove all dust with a clean, lint-free cloth as you did when cleaning, before applying the next coat.
Again, allow the final coat to dry and cure fully before using the door normally.
Post-Finish Maintenance
Once finished, your oak door can last many years of use. And over the years, regular maintenance will help protect your oak door and keep it looking its absolute best, and will mean you don’t have to treat or finish very often again, if at all.
We suggest trying to keep the door clean, checking the finish every now (particularly around handles and edges which are most heavily used) and also for signs of wear or damage, touching up or re-treating the surface when needed. How often maintenance is required will depend on the finish, exposure to weather and everyday use.
Common Mistakes to Avoid When Treating Oak Doors
Prepping and treating your oak doors can add years to their lifespan, and can also transform the appearance of your home. Whether you’re learning how to finish oak doors for the first time or looking for advice on how to treat the oak doors you have, avoiding these common mistakes will help you achieve a more even and professional-looking finish:
- Applying a finish to an uncleaned, dusty or damp surface
- Not allowing coats of paint or finish to dry before applying another
- Skipping preparation/sanding where required
- Using too much product (applying thin coats will avoid what’s known as ‘blooming’, which can look like a cloudy patch on your wood)
- Using an unsuitable household cleaner
- Treating oak veneer like solid oak (Oak veneer doors have a thin layer of real oak, so they should not be sanded as aggressively or treated in the same way as solid oak doors)
- Applying a new finish over an incompatible existing finish
If you avoid these common mistakes when treating your doors, and always follow the manufacturer’s guidance, you should end up with your desired finish.
Final thoughts on finishing oak doors
With proper preparation, a good finish and on-going maintenance, your oak doors can look their best for many, many years. The best treatment depends on the type and condition of your oak door, so always follow the instructions provided by the door and finish manufacturer.
If you have any questions about prepping, treating or finishing your oak doors, or any other doors for that matter, feel free to contact the Doordeals team and our experts will be happy to help. If you need more information on oak doors generally, like how much they cost and are they worth installing in your home, you can read our expert guide to oak doors here.
FAQs
What is the best finish for oak doors?
The best finish for oak doors depends on the location of the door and the desired look you’re after. But here are some of our top picks:
- Hardwax oils – sink into the wood grain to provide a natural, warm look and are easy to touch-up.
- Varnishes and lacquers – these are the best finishes for overall durability, as they protect the wood by creating a plastic-esque cover
- Paints – paint offers a wide range of colours to transform the look and feel of your space, and provide a durable, protective finish
- Wood stains – enhance the natural grain and character of oak, as well as adding colour, making them ideal for achieving a specific shade without completely covering the wood.
Can you treat an oak door without sanding it?
Yes, sanding can sometimes be avoided when applying a compatible finish over an existing coating. The cleaning step shouldn’t be skipped here though. Sanding is, however, most often recommended when removing an old finish from an oak door, repairing imperfections or preparing untreated wood for a new treatment.
Should I oil or varnish my oak doors?
Oil is the ideal choice if you want to enhance the natural grain of your oak door. Varnish provides a tougher protective layer, making it a good choice for doors that are more frequently used.
Can you paint an oak door?
Yes, absolutely; oak doors can be painted in whatever colour you choose, to create a completely different look, whilst still providing a strong and protective finish. Just make sure the surface is properly prepared and use a suitable primer and paint.
Do unfinished oak doors need treating?
Yes, unfinished oak doors should be treated. Leaving them bare exposes the timber to moisture and the elements, dirt, dust, grease from hands etc, leaving them vulnerable to staining, warping, swelling and cracking over time. Leaving unfinished oak doors untreated – or treating them incorrectly – could void manufacturer warranties.
Do internal oak veneer doors need treating?
Yes, oak veneer doors do need treatment to avoid attracting moisture, which can be detrimental to any door’s performance as it can cause the timber to warp and swell. Always follow your manufacturer’s instructions when treating your oak doors.
How often should you clean oak doors?
There are no hard and fast rules for cleaning oak doors once they’re in situ. You can use your own judgement to decide – for instance, if you see excess dirt or marks beginning to appear, it may be time to give it a clean. However, when you’re prepping to treat or finish a door, we recommend giving the surfaces a thorough, deeper clean beforehand, so that the finish has the best possible chance of looking its best.